A functional slicing line layout balances equipment placement with workflow needs. Proper spacing prevents bottlenecks and allows safe maintenance. This guide provides a practical checklist for arranging slicers, feeders, and conveyors in a food processing facility.
- Prioritize linear flow from unloading to loading to minimize operator movement and product handling.
- Reserve adequate clearance around slicers for blade changes, cleaning, and emergency stops.
- Coordinate conveyor heights with operator ergonomics and downstream equipment to prevent product damage.
- Plan for material storage and waste removal near the line to keep the production area clear.
- Involve maintenance and sanitation teams early in the layout process to identify access needs.
A slicing line layout determines how product moves through the facility and how operators interact with the equipment. Poor placement causes bottlenecks, increases handling time, and makes sanitation difficult. This guide focuses on the physical arrangement of slicers, feeders, and conveyors to create a functional and safe production environment.
How to define the product flow before placing equipment
Start with the product movement, not the machinery. Map the path from raw material intake to final packaging. Identify the specific slicing task, such as cutting frozen vegetables, portioning meat, or slicing cheese. The flow should move in one direction, usually from receiving to shipping. Avoid U-shaped layouts unless space constraints force a turn, as they complicate material handling and increase the risk of cross-contamination.
Determine the throughput volume. A high-volume line requires wider conveyors and more buffer space between stages. A low-volume line can use narrower equipment but still needs room for operators to work comfortably. The layout must accommodate the peak production rate, not just the average. If the line stops for cleaning, the layout should allow that cleaning to happen without moving product to a different area.
Consider the product form. Soft products like tomatoes or bread require gentle handling and may need enclosed conveyors or specific guides. Hard or irregular products like nuts or frozen blocks may need more robust conveyors and larger feeding areas. The layout should reflect these physical characteristics to prevent damage and ensure consistent sizing.
Equipment placement for safe and efficient operation
Place the slicer at the center of the workflow, with feeders upstream and collection bins or conveyors downstream. Operators should stand behind or to the side of the slicer, not in front of the blade path. The emergency stop buttons must be reachable from the operator position without stepping into the hazard zone.
Allow at least two meters of clearance on the side of the slicer where the blade is exposed. This space is needed for blade changes, guard adjustments, and emergency access. The front of the slicer should face the operator, with the product feed aligned to their natural standing position. If multiple slicers are in series, ensure the output conveyor from the first unit aligns with the feed of the second. Misalignment causes product to fall or require manual adjustment, which slows production and creates hygiene risks.
Conveyor heights matter. Set the feed conveyor at a height that allows the operator to guide product with minimal wrist extension. The collection area should be at a height that allows bins to be lifted or wheeled away without straining the lower back. Inconsistent heights lead to fatigue and increased errors over an eight-hour shift.
Factory planning: integrating utilities and sanitation
Plan for utilities at the earliest stage of the layout. Slicers require electrical power, often three-phase, and some models need compressed air for air knives or pneumatic actuators. Water supply is necessary for washing, and drainage must be located near the slicer for cleaning. If the layout is changed after utilities are installed, the cost and disruption are significant.
Sanitation access is a common oversight. The layout must allow a cleaning crew to reach the slicer without moving production equipment. This means avoiding placing the slicer in a corner where the rear or side is blocked by walls or other machines. Ensure the floor around the slicer is sloped slightly toward a drain to direct wash water away from electrical panels and control boxes.
Consider the temperature of the environment. If the slicer processes frozen product, the layout must account for cold storage proximity. A short distance from a freezer reduces product temperature drift and energy costs. If the facility processes ambient product, ensure ventilation is adequate to remove heat generated by the machinery. Poor ventilation affects both equipment lifespan and operator comfort.
Workflow tips for reducing bottlenecks
Bottlenecks occur when one station takes longer to process product than the next. In a slicing line, the slicer is usually the rate-limiting step. The feed and collection areas must be able to keep up with the slicer speed. If the feed conveyor is too short, operators run out of product to load. If the collection area is too small, product backs up and overflows.
Create buffer zones between stages. A small accumulation area upstream of the slicer allows operators to load product while the slicer is still cutting. A similar buffer downstream catches product before it moves to the next process. These buffers should be sized based on the cycle time of the slicer. A quick rule of thumb is to allow enough space for three to five minutes of product flow, but this depends on the specific product and volume.
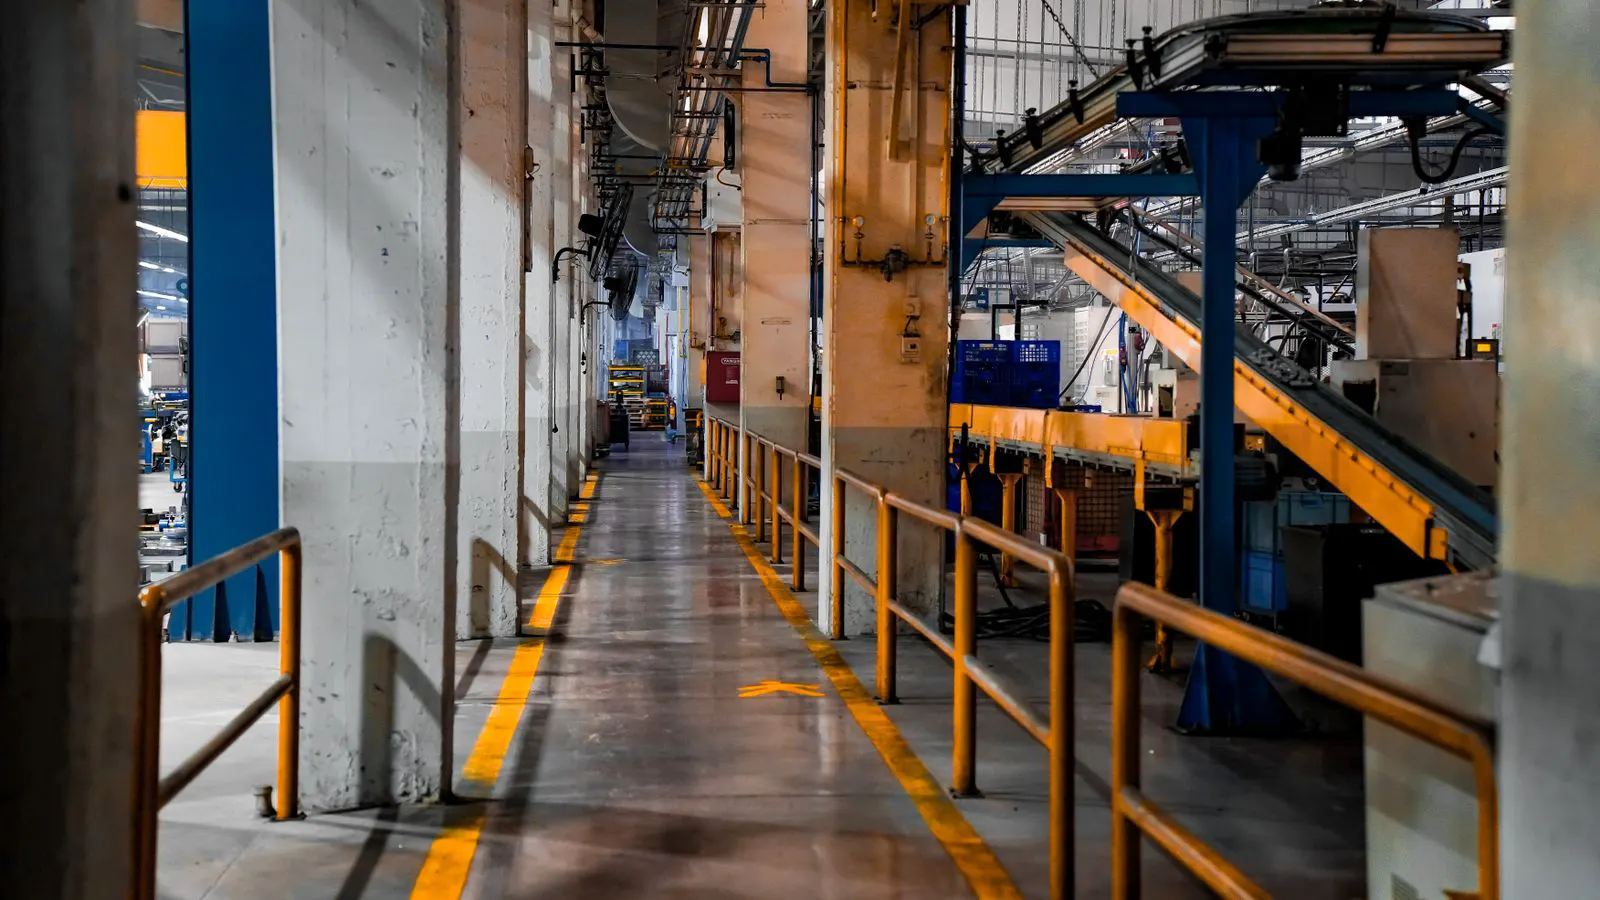
Use visual cues to guide operators. Mark the floor with lines or color-coded areas to show where to stand, where to place bins, and where to avoid stepping. This reduces hesitation and prevents operators from entering the blade guard area. Signage for emergency stops and cleaning instructions should be visible from the operator position.
Space requirements and clearance guidelines
The following table provides general clearance recommendations for a standard industrial slicer. These values are starting points, not absolute rules. Adjust them based on the specific machine dimensions and site regulations.
| Clearance Zone | Recommended Distance | Purpose |
|---|---|---|
| Front of slicer | 1.5 m | Operator access and loading |
| Side of blade | 2.0 m | Blade change and emergency access |
| Rear of slicer | 1.0 m | Control panel access and maintenance |
| Conveyor length | 3.0 m | Product accumulation and buffering |
| Floor to ceiling | 2.5 m | Overhead clearance for guards and lights |
These clearances assume a single operator. If two operators work the line, one at the feed and one at the collection, increase the side clearance to 2.5 meters to allow safe movement between stations. If the slicer is part of a larger automated line, the clearances may be reduced, but only after a safety risk assessment.
Common layout mistakes to avoid
Placing the slicer too close to a wall is the most frequent error. It prevents proper blade changes and makes cleaning difficult. Operators may be forced to work in cramped positions, leading to fatigue and safety incidents. Always check the manufacturer’s installation requirements for minimum clearances.
Ignoring the downstream process is another common mistake. If the slicer outputs product to a weighing station, the layout must accommodate the transfer. If the product moves to a packaging line, the conveyor must align with the packaging infeed. A mismatch causes manual transfer, which increases handling time and product damage.
Failing to plan for waste removal is a significant oversight. Slicers generate trim and off-cuts. These materials need a place to go. If the waste bin is too far, operators waste time moving it. If it is too close, it blocks access to the slicer. Place the waste bin within arm’s reach of the operator, but outside the blade guard area.
Audit checklist for slicing line layout
Use this checklist to audit your current slicing line layout. Group items by theme and assign a score of 1 to 3 for each item, where 1 is poor and 3 is excellent.
-
Flow and Direction
- Product moves in a single direction from intake to output.
- No U-turns or backtracking in the product path.
- Operators do not need to walk past the blade area to access materials.
-
Equipment Placement
- Slicer is centered in the workflow with adequate feed and collection space.
- Emergency stops are reachable from the operator position.
- Clearance around the slicer meets manufacturer requirements.
-
Utilities and Sanitation
- Electrical, water, and air utilities are accessible and not obstructed.
- Floor drainage is positioned to direct wash water away from controls.
- Cleaning crew can access the slicer without moving other equipment.
-
Ergonomics and Workflow
- Conveyor heights align with operator height for efficient loading and unloading.
- Buffer zones are sufficient to prevent bottlenecks.
- Waste bins are within reach but outside the hazard zone.
-
Safety and Compliance
- All guards are in place and functional.
- Floor markings clearly define safe zones and operating areas.
- Emergency lighting and signage are visible and compliant with local regulations.
Red flags to watch for:
- Operators frequently stepping into the blade guard area to access controls.
- Product backing up at the collection area during peak production.
- Cleaning requiring the removal of nearby equipment.
- Inconsistent conveyor heights causing manual product transfer.
- Waste bins placed in front of the slicer or blocking emergency stop access.
A well-planned slicing line layout reduces downtime, improves operator safety, and simplifies sanitation. Take the time to map the flow, check clearances, and involve all relevant teams before finalizing the placement. Small adjustments in equipment positioning can have a large impact on daily production efficiency.
Frequently asked questions
How much space do I need around a slicer for blade changes?
Allow at least two meters of clearance on the side where the blade is exposed. This space is necessary for safe access and tool use during maintenance.
Can I place a slicer in a corner of the room?
It is possible, but it complicates cleaning and maintenance. At least one side needs full access for blade changes and guard removal. Verify the manufacturer's minimum clearance requirements before installing in a corner.
What is the recommended conveyor height for a slicer feed?
Set the feed conveyor at a height that allows the operator to guide product with minimal wrist extension. Typically, this is between 0.9 and 1.1 meters, but adjust based on operator height and product type.
How do I prevent product from backing up at the collection area?
Size the collection area or downstream conveyor to accommodate the peak output rate of the slicer. A buffer zone of three to five minutes of product flow is a good starting point.
Do I need to consider temperature when planning the layout?
Yes. If the slicer processes frozen or chilled product, place it close to cold storage to minimize temperature drift. For ambient products, ensure adequate ventilation to manage heat generated by the machinery.