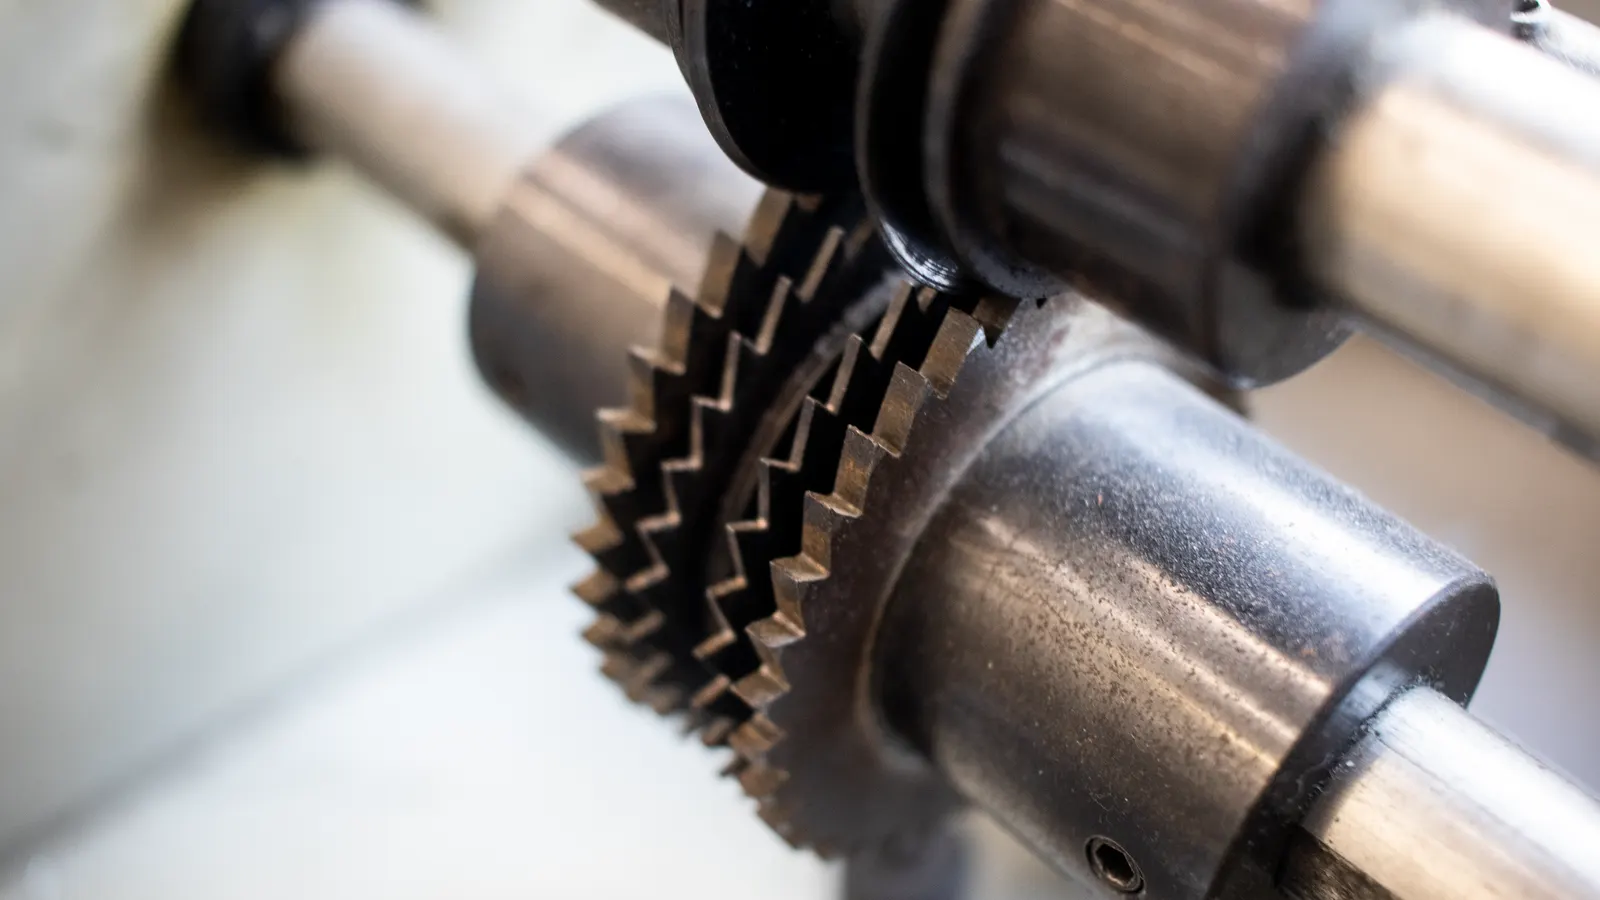
Match slicer blade diameter to product thickness by balancing contact area, feed rate, and cut uniformity. Use the product's thinnest dimension to set minimum diameter, then verify with test cuts and tension checks.
- Set minimum blade diameter based on the thinnest product dimension you must slice
- Use larger diameters for dense or irregular products to reduce force per unit area
- Verify with test cuts, edge wear checks, and tension measurements
- Recheck sizing when product dimensions, density, or line speed change
- Record blade diameter, product size, and settings for repeatable setup
Why slicer blade diameter matters
Slicer blade diameter changes the force needed to cut, the contact time between product and steel, and the uniformity of each slice. A blade that is too small for the product creates high localized pressure, which can bruise soft items, pull dense items, or force the feed mechanism into overwork. A blade that is too large can be wasteful and may introduce unnecessary inertia, though it is usually safer than an undersized blade.
The first rule is simple. The blade diameter must be large enough to clear the product thickness without forcing the product into the edge at a sharp angle. In practice, most processors treat the blade diameter as a sizing variable, not a fixed machine spec. The same slicer body can run different blade sizes depending on the product, the line speed, and the desired cut quality.
Define the product dimensions before sizing
Before selecting a blade, measure the product in the orientation it enters the slicer. Record three numbers: width, height, and thickness. Thickness is the dimension that moves across the blade face. Width determines how much of the blade edge is engaged per cut. Height determines whether the product clears the blade without contacting the base or the guard.
For soft products such as cheese, ham, or bread, measure the thinnest slice you intend to produce. If the target is 3 mm, the product must be able to pass through the blade opening at that thickness without tearing. For dense products such as sausage, meat logs, or frozen items, measure the maximum cross-section. A dense log that is 80 mm in diameter needs a blade that can handle that contact width without excessive force.
Choose the minimum safe diameter
A common starting rule is to select a blade diameter at least 1.5 times the maximum product thickness, with a minimum clearance of 10 mm between the product surface and the blade edge. This is a practical guideline, not a universal standard. The exact value depends on product density, feed method, and blade geometry.
For a 20 mm thick product, a 40 mm minimum blade diameter gives 20 mm of clearance. For a 40 mm product, a 70 mm or larger blade gives room for a clean entry angle. If the product is irregular, use the maximum dimension you expect to see, not the average. Irregular shapes create peaks. The blade must clear those peaks without forcing the feed.
| Product type | Typical thickness range | Practical minimum blade diameter | Notes |
|---|---|---|---|
| Soft cheese | 3-10 mm | 30-50 mm | Low force, high contact area |
| Bread | 15-30 mm | 50-80 mm | Watch for crust density changes |
| Deli meat | 10-25 mm | 40-70 mm | Fat lines affect force |
| Sausage log | 30-90 mm | 80-160 mm | Use larger blade for dense cores |
| Frozen product | 15-50 mm | 60-120 mm | Add clearance for expansion |
Match diameter to product density
Blade diameter and product density are linked. A dense product resists the cut. A larger blade reduces the force per unit of edge length, but it also increases the torque on the drive. A smaller blade concentrates force in a smaller area, which can work for soft items but may strain the feed on dense items.
For dense products, increase the blade diameter and reduce the feed speed. The goal is to let the blade do the cutting, not the feed. For soft products, a smaller blade can work because the material yields easily. The trade-off is edge wear. Soft products can deposit moisture and fat on the edge, which accelerates dulling. A larger blade on soft product may reduce the number of cuts per hour, but it can extend edge life.
Account for feed method and line speed
The feed method changes the force profile. Hand-fed product gives the operator control over entry angle and speed. Automated feed applies a steady force. Palletized or conveyor-fed product may present a constant load. The blade diameter must match the worst-case force, not the average.
If the line runs fast, use a larger diameter and a sharper edge. High speed increases the contact time per slice, and a dull edge will tear the product before the next slice. If the line runs slow, a smaller blade can handle more force, but the operator or feed mechanism must still avoid jerking the product into the edge.
Set blade tension and edge angle
Blade diameter does not work in isolation. Tension and edge angle determine whether the blade holds its shape under load. A loose blade on a small diameter will deflect on dense products, causing uneven cuts. A tight blade on a large diameter can increase drive torque and heat.
Check the blade tension according to the machine’s service procedure. The tension should be firm enough to prevent visible deflection under normal cut force. The edge angle should match the product. A steeper angle can handle denser material, but it may require more force. A shallower angle cuts softer product more easily but dulls faster.
Common mistakes in blade sizing
The most common mistake is selecting a blade based on the product’s nominal size, not its maximum dimension. A product labeled 60 mm may reach 75 mm in practice. The blade must clear the peak.
Another mistake is changing blade size without updating the feed settings. A larger blade changes the cut length per revolution. If the feed is not adjusted, the slice thickness will drift. A smaller blade changes the torque load. If the feed is set for a larger blade, the mechanism may stall.
A third mistake is using a worn blade for a new product. Edge wear changes the effective cutting angle. A blade that was correct for a soft product may be too dull for a dense product, even if the diameter is correct.
Verify the setup with test cuts
Run a verification before full production. Cut a small batch of the product at the target thickness. Check three things: slice thickness variation, edge quality, and force feedback. If the slices are uneven, the feed or blade tension is likely off. If the edge is torn, the blade is too small or too dull. If the feed stalls, the blade is too large or the feed speed is too high.
Record the blade diameter, product dimensions, feed speed, and tension setting. This record becomes the baseline for the next setup. If the product source changes, or the season changes the moisture content, recheck the same three points.
When to change the blade size
Change the slicer blade diameter when the product dimensions change, when the density changes, or when the cut quality drops without a change in product. A new supplier may produce a slightly larger log. A frozen product may thaw unevenly. A seasonal product may be firmer or softer.
Do not change the blade size just to fix a dull edge. Replace or sharpen the blade first. If the edge is correct and the cuts are still uneven, the diameter or tension may be wrong. If the cuts are uneven and the edge is dull, both may need attention.
Final verification checklist
- Measure the maximum product thickness and width.
- Select a blade diameter that clears the product with at least 10 mm of edge clearance.
- Set blade tension according to the service procedure.
- Set the edge angle for the product density.
- Adjust feed speed to match the blade diameter.
- Run a test batch of 10 to 20 slices.
- Check slice thickness, edge quality, and force feedback.
- Record the settings for the next setup.
- Recheck after any change in product, supplier, or line speed.
The slicer blade diameter is a sizing variable, not a fixed spec. Match it to the product’s maximum dimension, the product density, and the feed method. Use test cuts to verify. Record the settings. When the product changes, recheck the blade size.
Frequently asked questions
What is the minimum slicer blade diameter for a 25 mm product?
Use at least 40 mm, with 10 mm or more clearance between the product surface and the blade edge. Adjust upward for dense or irregular products.
Can I use a larger blade on a soft product like cheese?
Yes. A larger blade reduces force per unit area and can extend edge life, but it may reduce cut rate. Check feed settings and test cut quality.
How do I know if the blade is too small?
Look for torn edges, uneven slice thickness, and stall or overwork in the feed mechanism. The product may also show bruising or pulling.
Does blade diameter affect CIP access?
Not directly, but a larger blade may change guard clearance and access paths. Verify CIP access after any blade size change.
Should I change the blade size if the edge is dull?
No. Sharpen or replace the blade first. If cuts remain uneven after edge correction, then recheck diameter and tension.